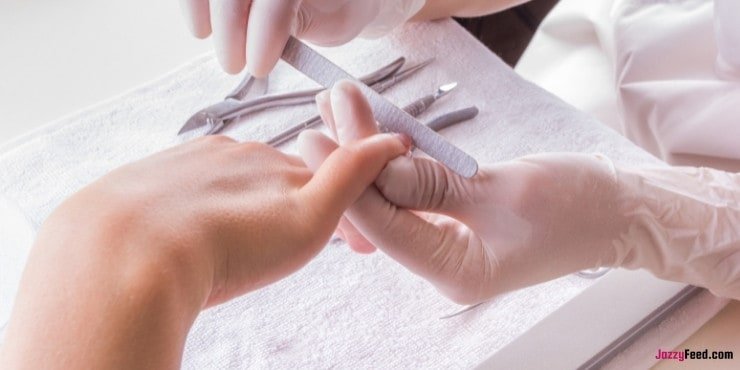
A beautiful manicure just looks and feels lovely, but the cost of salon manicures may quickly build up over the course of a year! You’ll need our crucial steps for a DIY manicure at home—for a fraction of the cost—if you want to save time and money on manicures.
Our hands, which seem so simple to maintain, have proven to be more complicated than we anticipated. Trimming your cuticles and getting an even, chip-resistant polish is certainly achievable with the right tools.
What You’ll Need:
- Paper towel
- File
- Buffer
- Base coat
- Top coat
- Cuticle eraser
- Nail clipper
- Cuticle serum (you can use avocado or coconut oil in a pinch)
- Quick dry oil
- Wooden stick
- Nail polish remover
Prepare Your Nails
Before starting your manicure, make sure your hands are thoroughly washed. Then, take a tissue, add nail polish remover, and wipe each nail to ensure any remaining polish is removed. Cotton balls contain lint and leave residue, so you could use a tissue or paper towel (cut into small pieces) to wipe your nails again. Instead of using a regular cotton ball or cotton pad, Lin suggests using a lint-free facial cotton pad.
Cut and File
Prepare the nail shape you wish to file beforehand. If you prefer a rounded shape, start filing from the side, or if you prefer them squared, start from the top. Trim your nails first if they are too long for filing.
Use a table as a level to ensure the nail is even: Place the opposite hand on the table while holding the file, and move the other hand against the file to smooth the edge.
Buff
Apply the larger grit side of a nail buffer to your nail. You should buff your nail with unidirectional strokes to smooth out any edges and ridges. You can also buff your nail plate after removing gel polish to smooth it out.
Push Your Cuticles Back
To soften your cuticles, use a cuticle serum or a natural oil like coconut or avocado oil. To put them back in the nail bed, gently push them back with a wooden stick.
Add Your Base Coat
Apply one layer of base coat evenly to the nail. Let the nail polish dry for one to two minutes after applying and ensure that there is not too much on the nail. Lin recommends using a base coat, since it makes your polish last longer while also hydrating your nails. Adding paint to your nails is the next step in adding color to your nails, so Sunday’s healing base coat maintains your nails’ hydration and strength.
Apply Your Color
Here comes the big show. If your finish isn’t perfect, don’t worry; you can always add another coat (two coats are recommended). From the tip to the base, you want steadily even strokes. Don’t let the brush bubble and crack due to excess paint.
If any excess polish is left around your nails after pushing back your cuticles, dip the wooden stick into polish remover prior to cleaning it up.
Add a Top Coat
Apply your topcoat before adding any nail art. Her nails were painted diagonal pink corners above.
Dry Your Nails
Use a quick dry oil to speed up the drying process, or air-dry your nails. Adding moisture back to your nails with Sunday’s Quick Dry Oil will reduce drying time by half.

